Monitors and placements
Every unit that recorded the blast: the device tray, a monitor's panel and its playback nudge, the recorder's panel, placing a monitor on the ground, and client seismograph records.
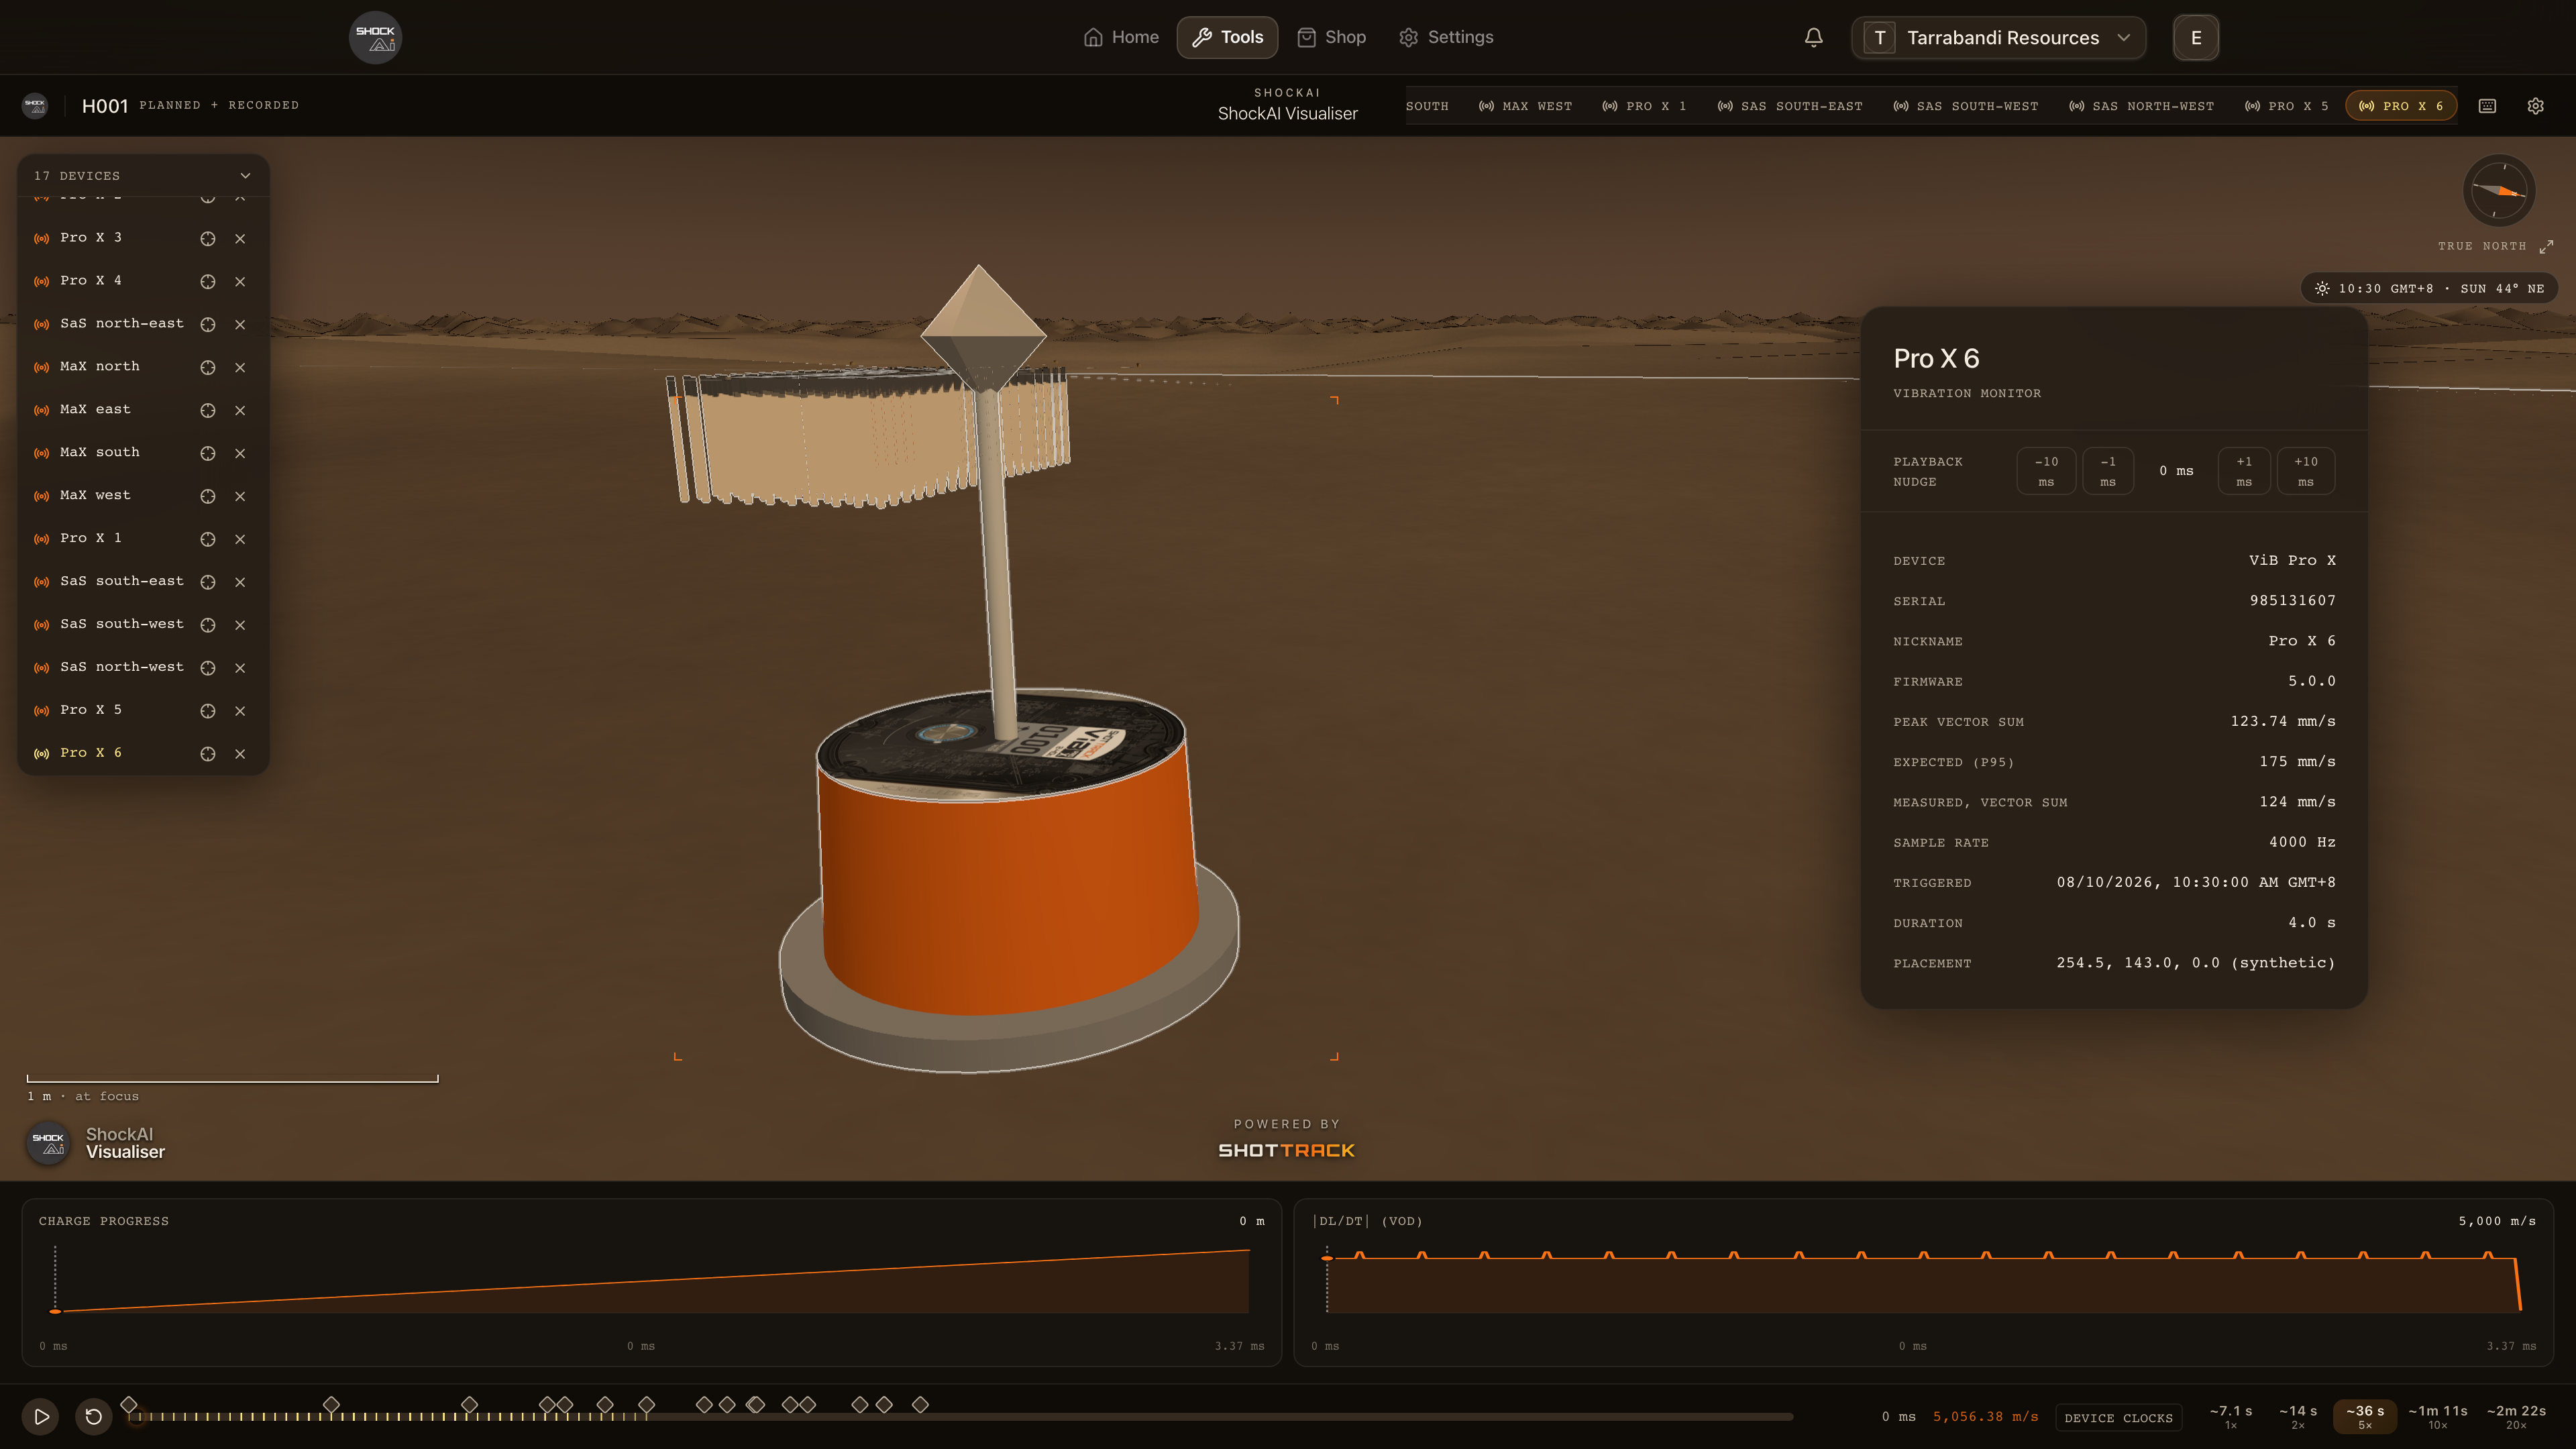
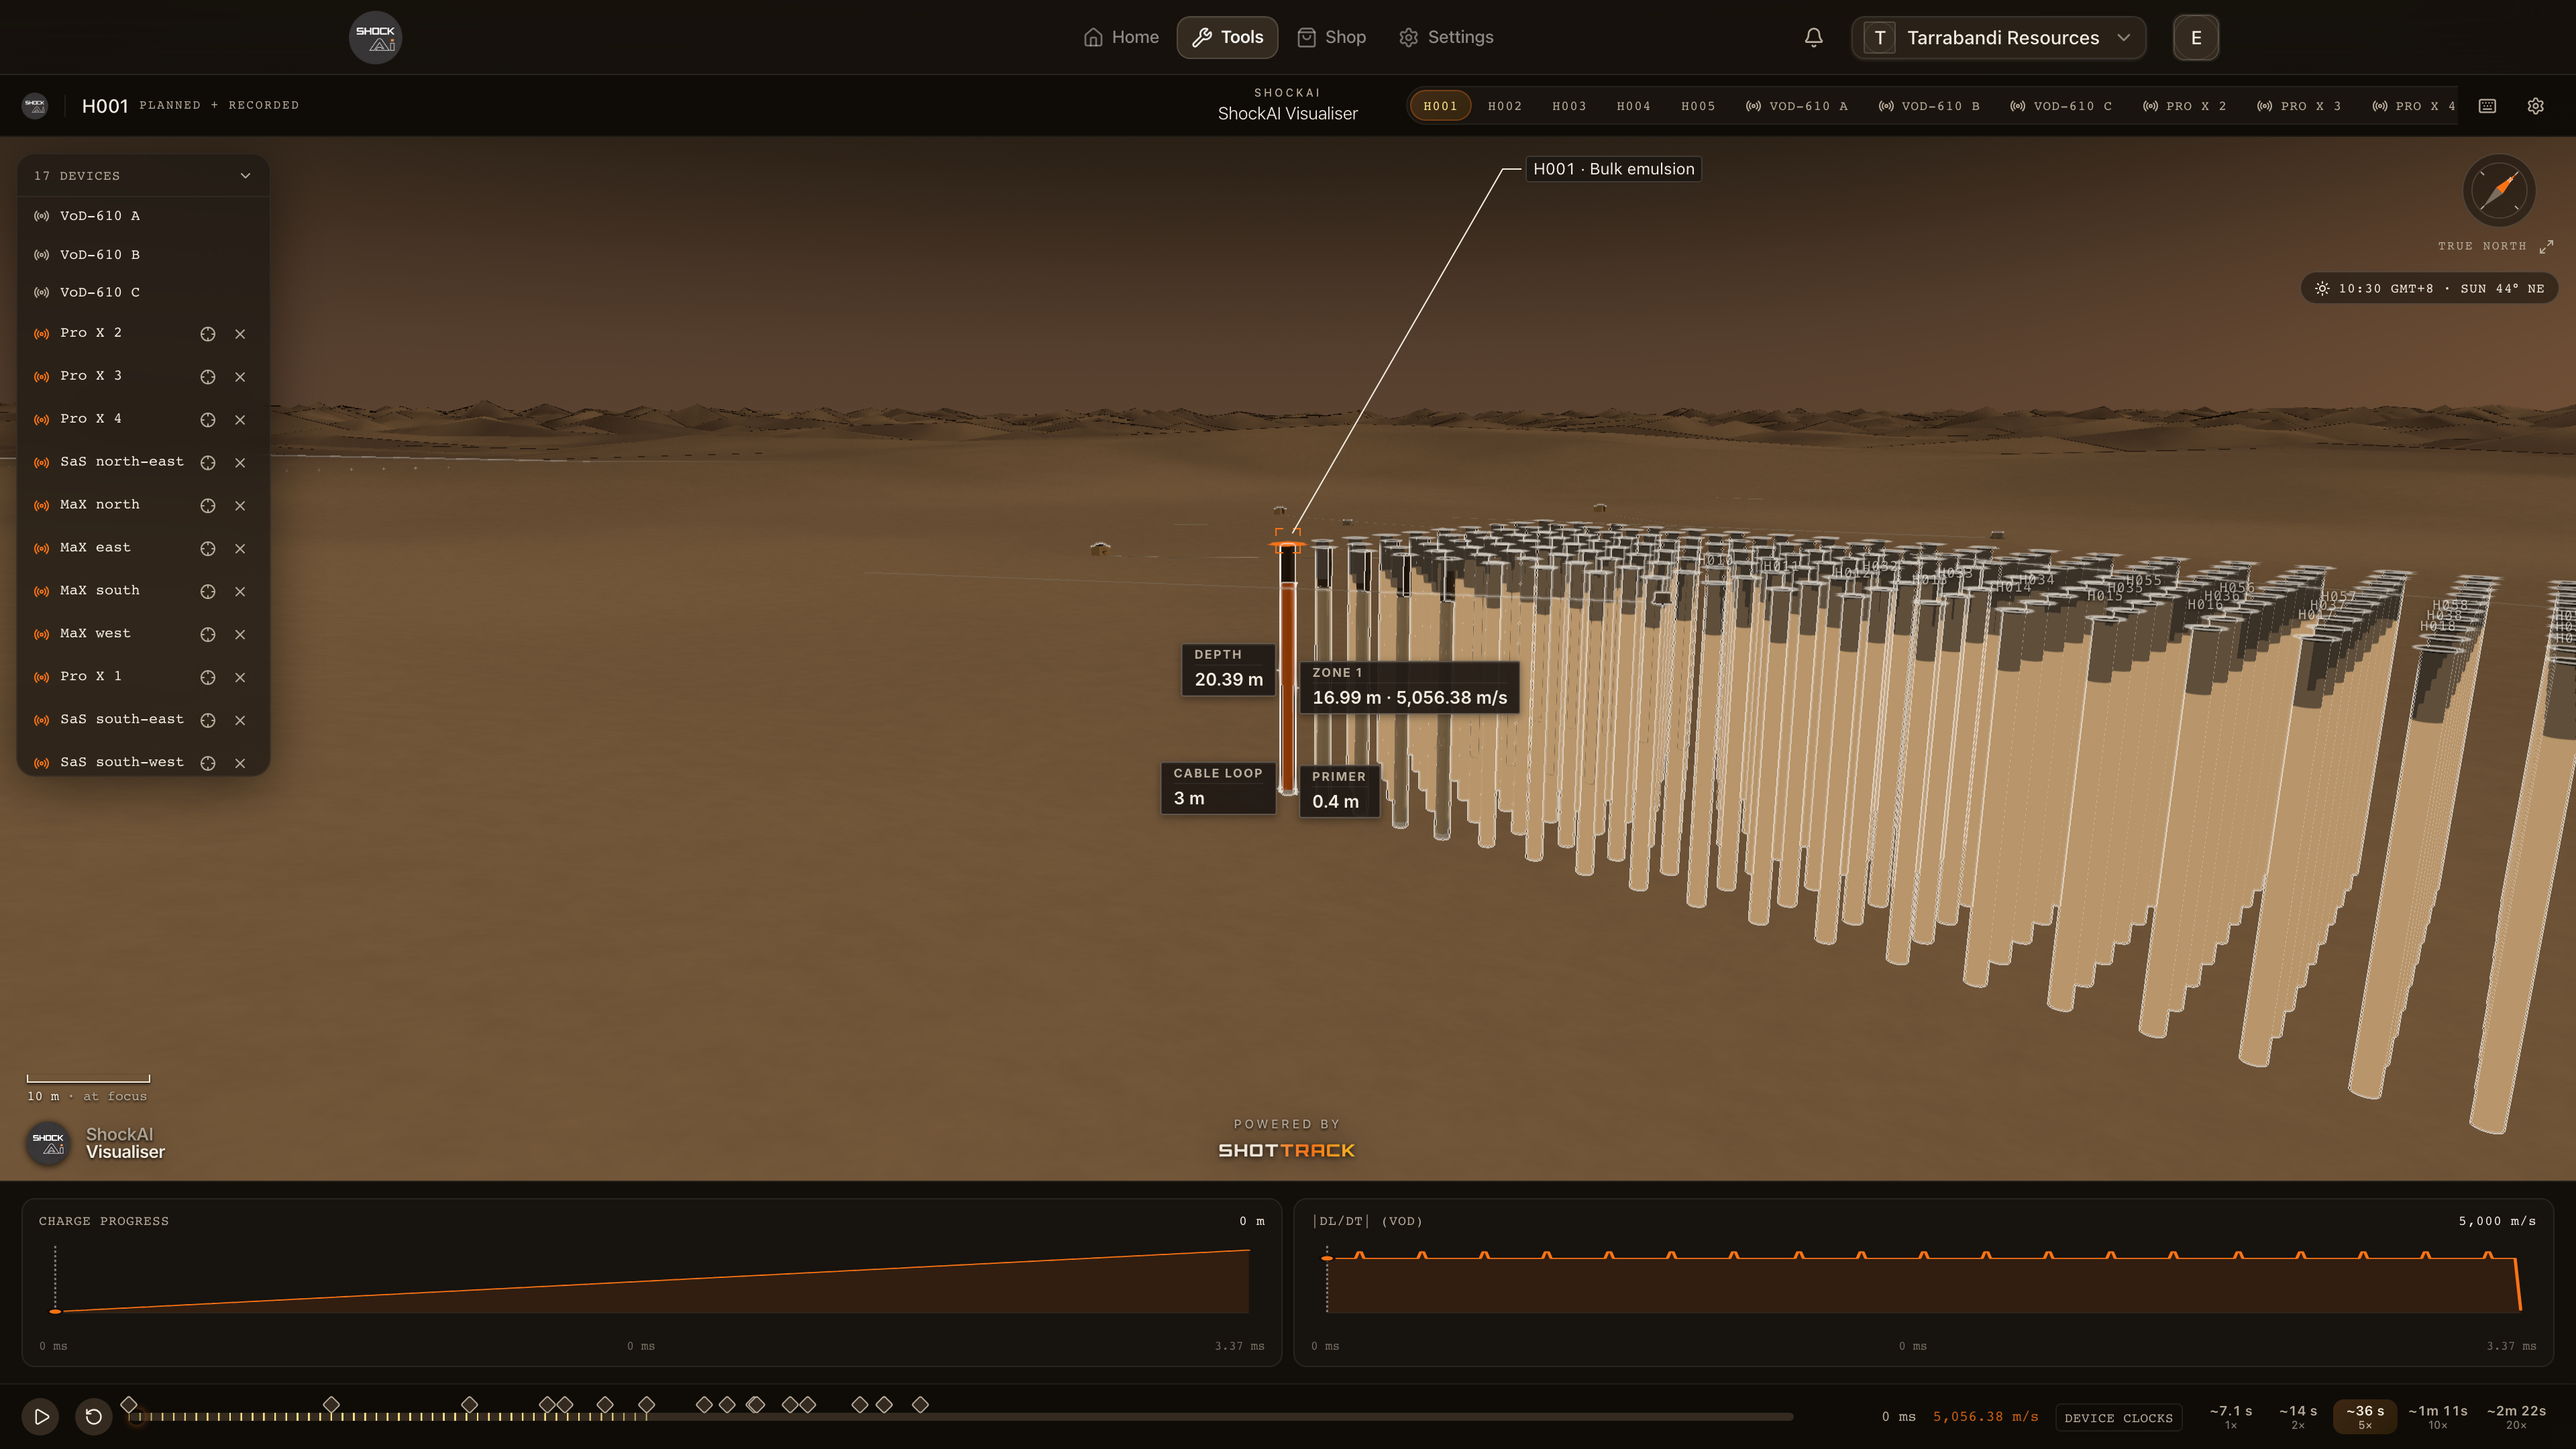
A blast scene holds every unit that recorded the blast. The device tray at the top left lists them. A monitor stands in the scene once it has a place on the ground, and there it pulses as the ground motion reaches it. Press D for the recorder's details.
The device tray
The tray's heading counts the units, and how many have no place yet. Click it to fold the tray away. The recorders come first, then the vibration monitors. A monitor with no place on the ground is marked unplaced. Click any unit to focus it.
A monitor
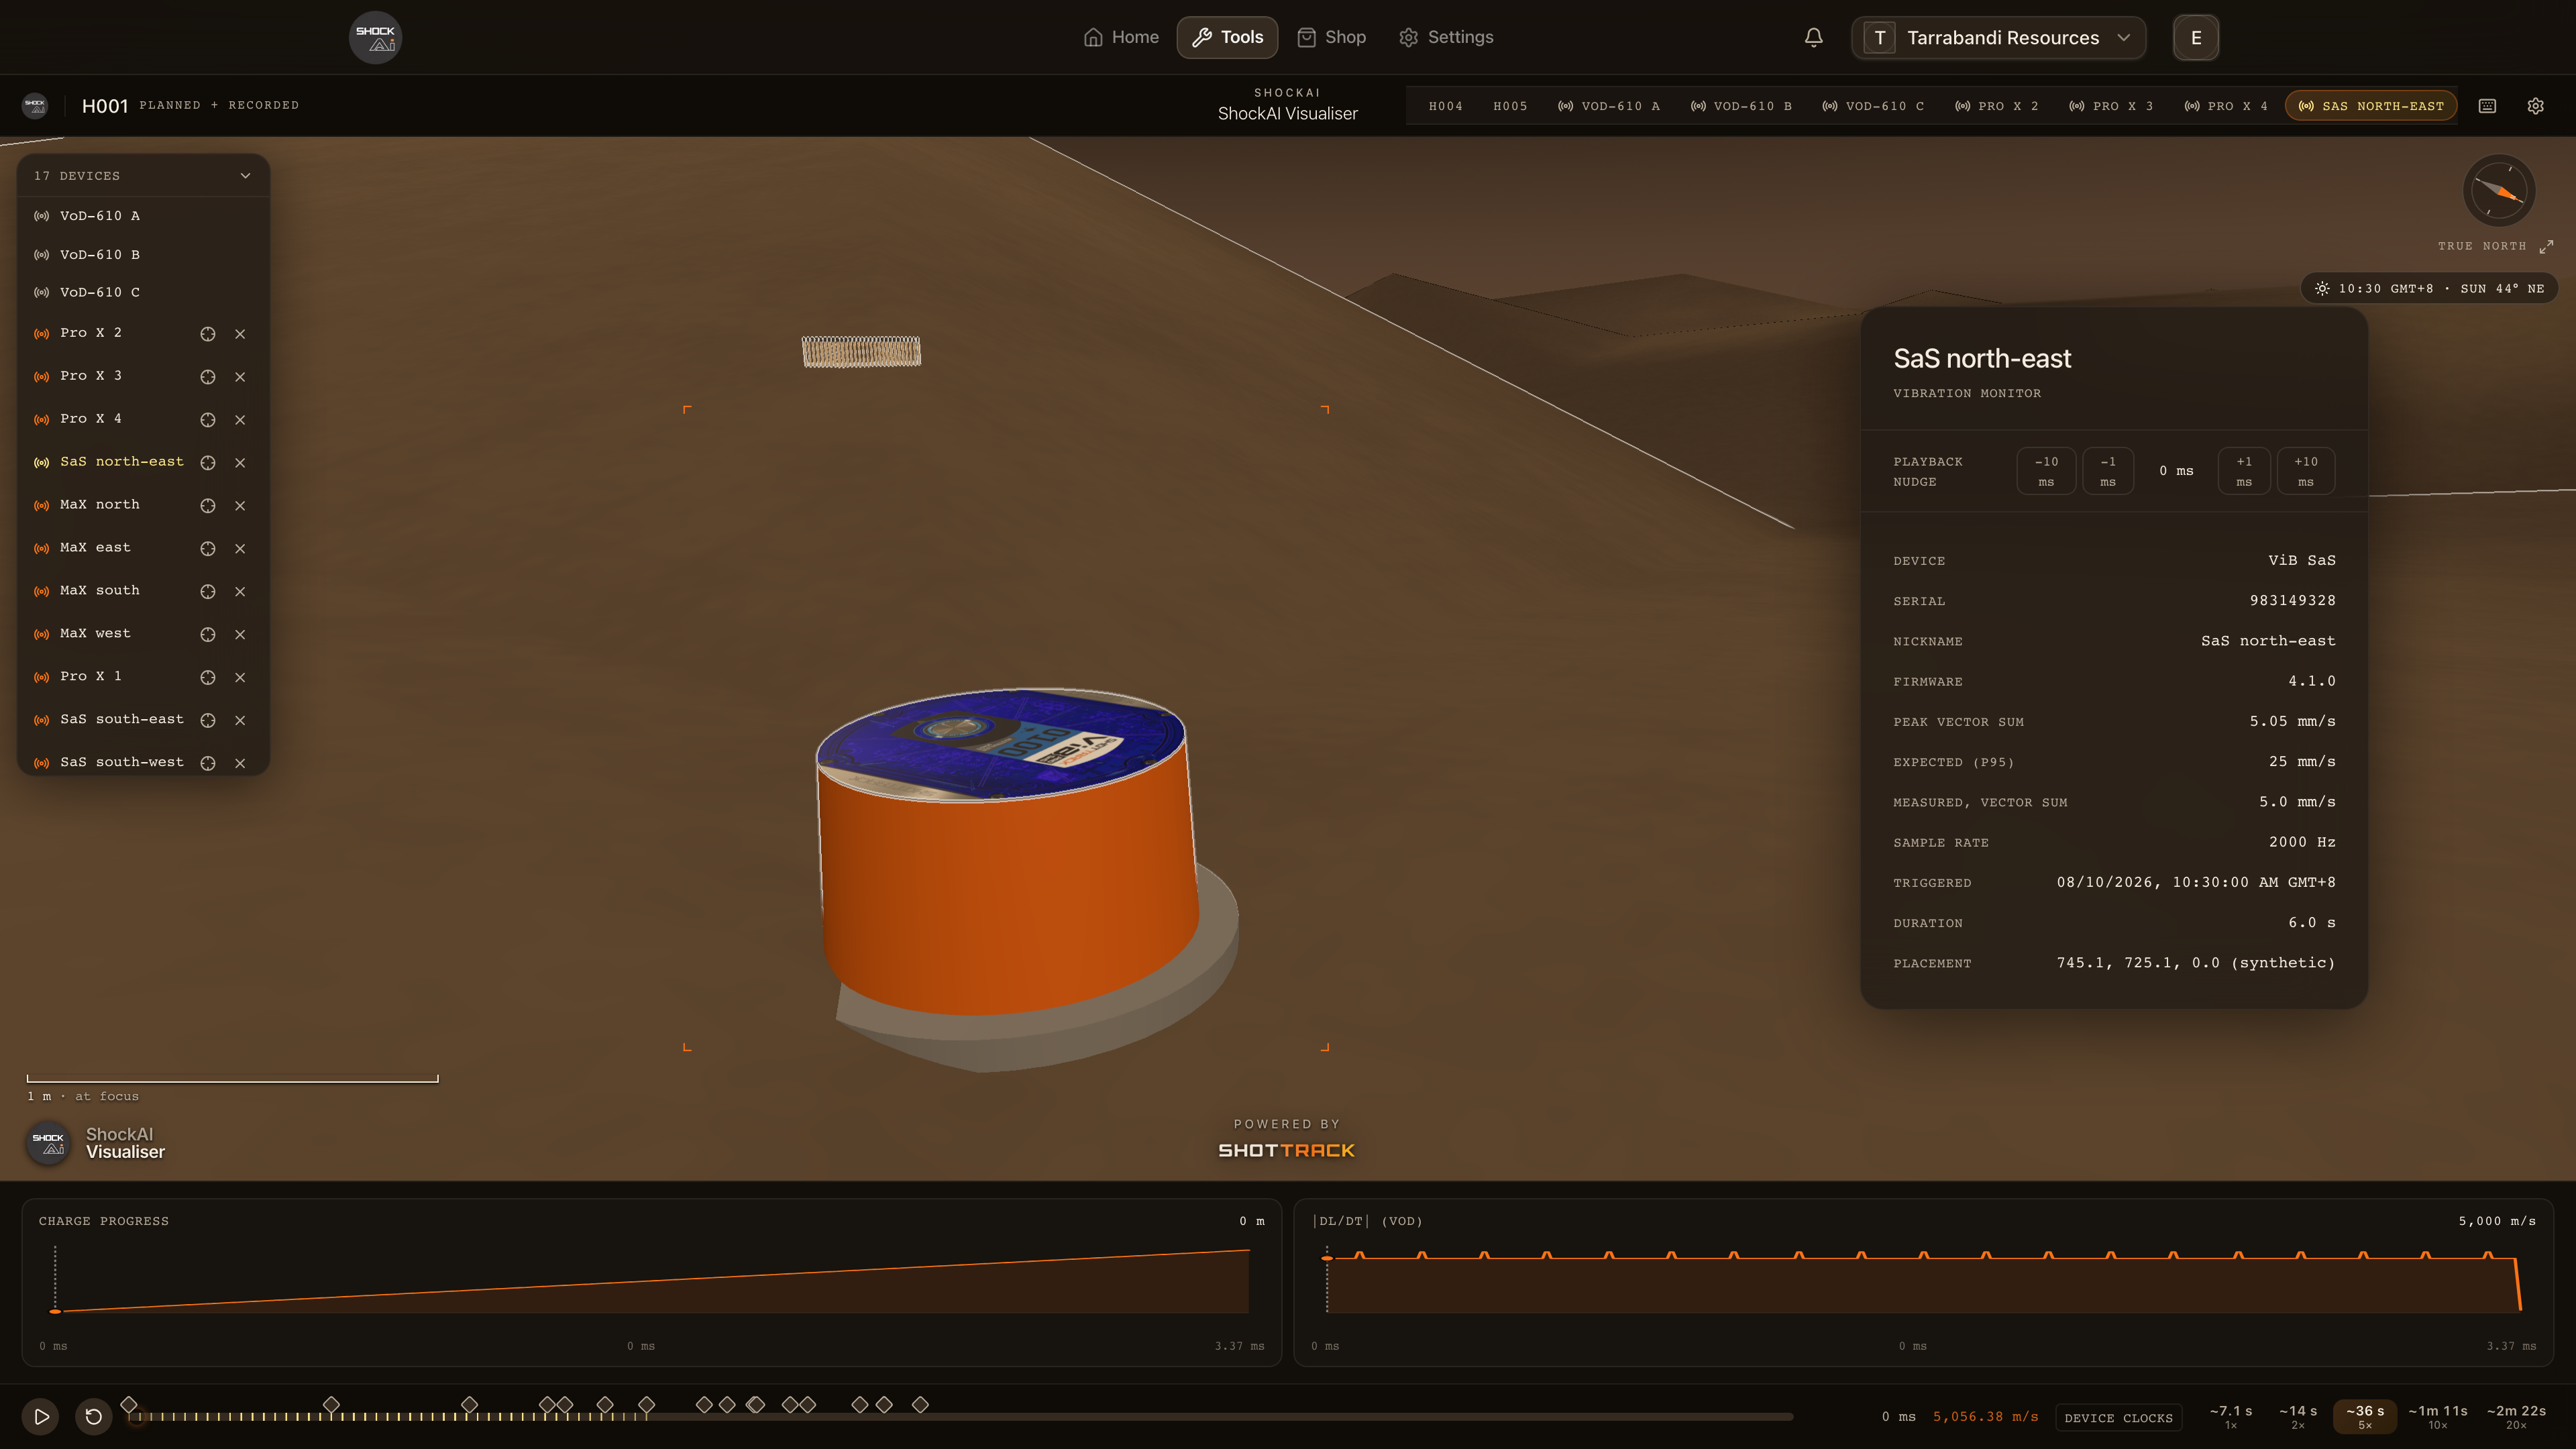
Click a monitor, in the scene or in the tray, to focus it, then press Enter, or More on the selection, to open its panel. The panel gives the unit, its serial and nickname, its firmware, its peak vector sum, its sample rate, when it triggered and for how long, its heading, its GPS fix and its place on the ground.
When you can edit the project, a placed monitor's panel also has a playback nudge: −10, −1, +1 and +10 ms, to line its pulse up with the blast by hand. Click the value to put it back to zero.
The recorder
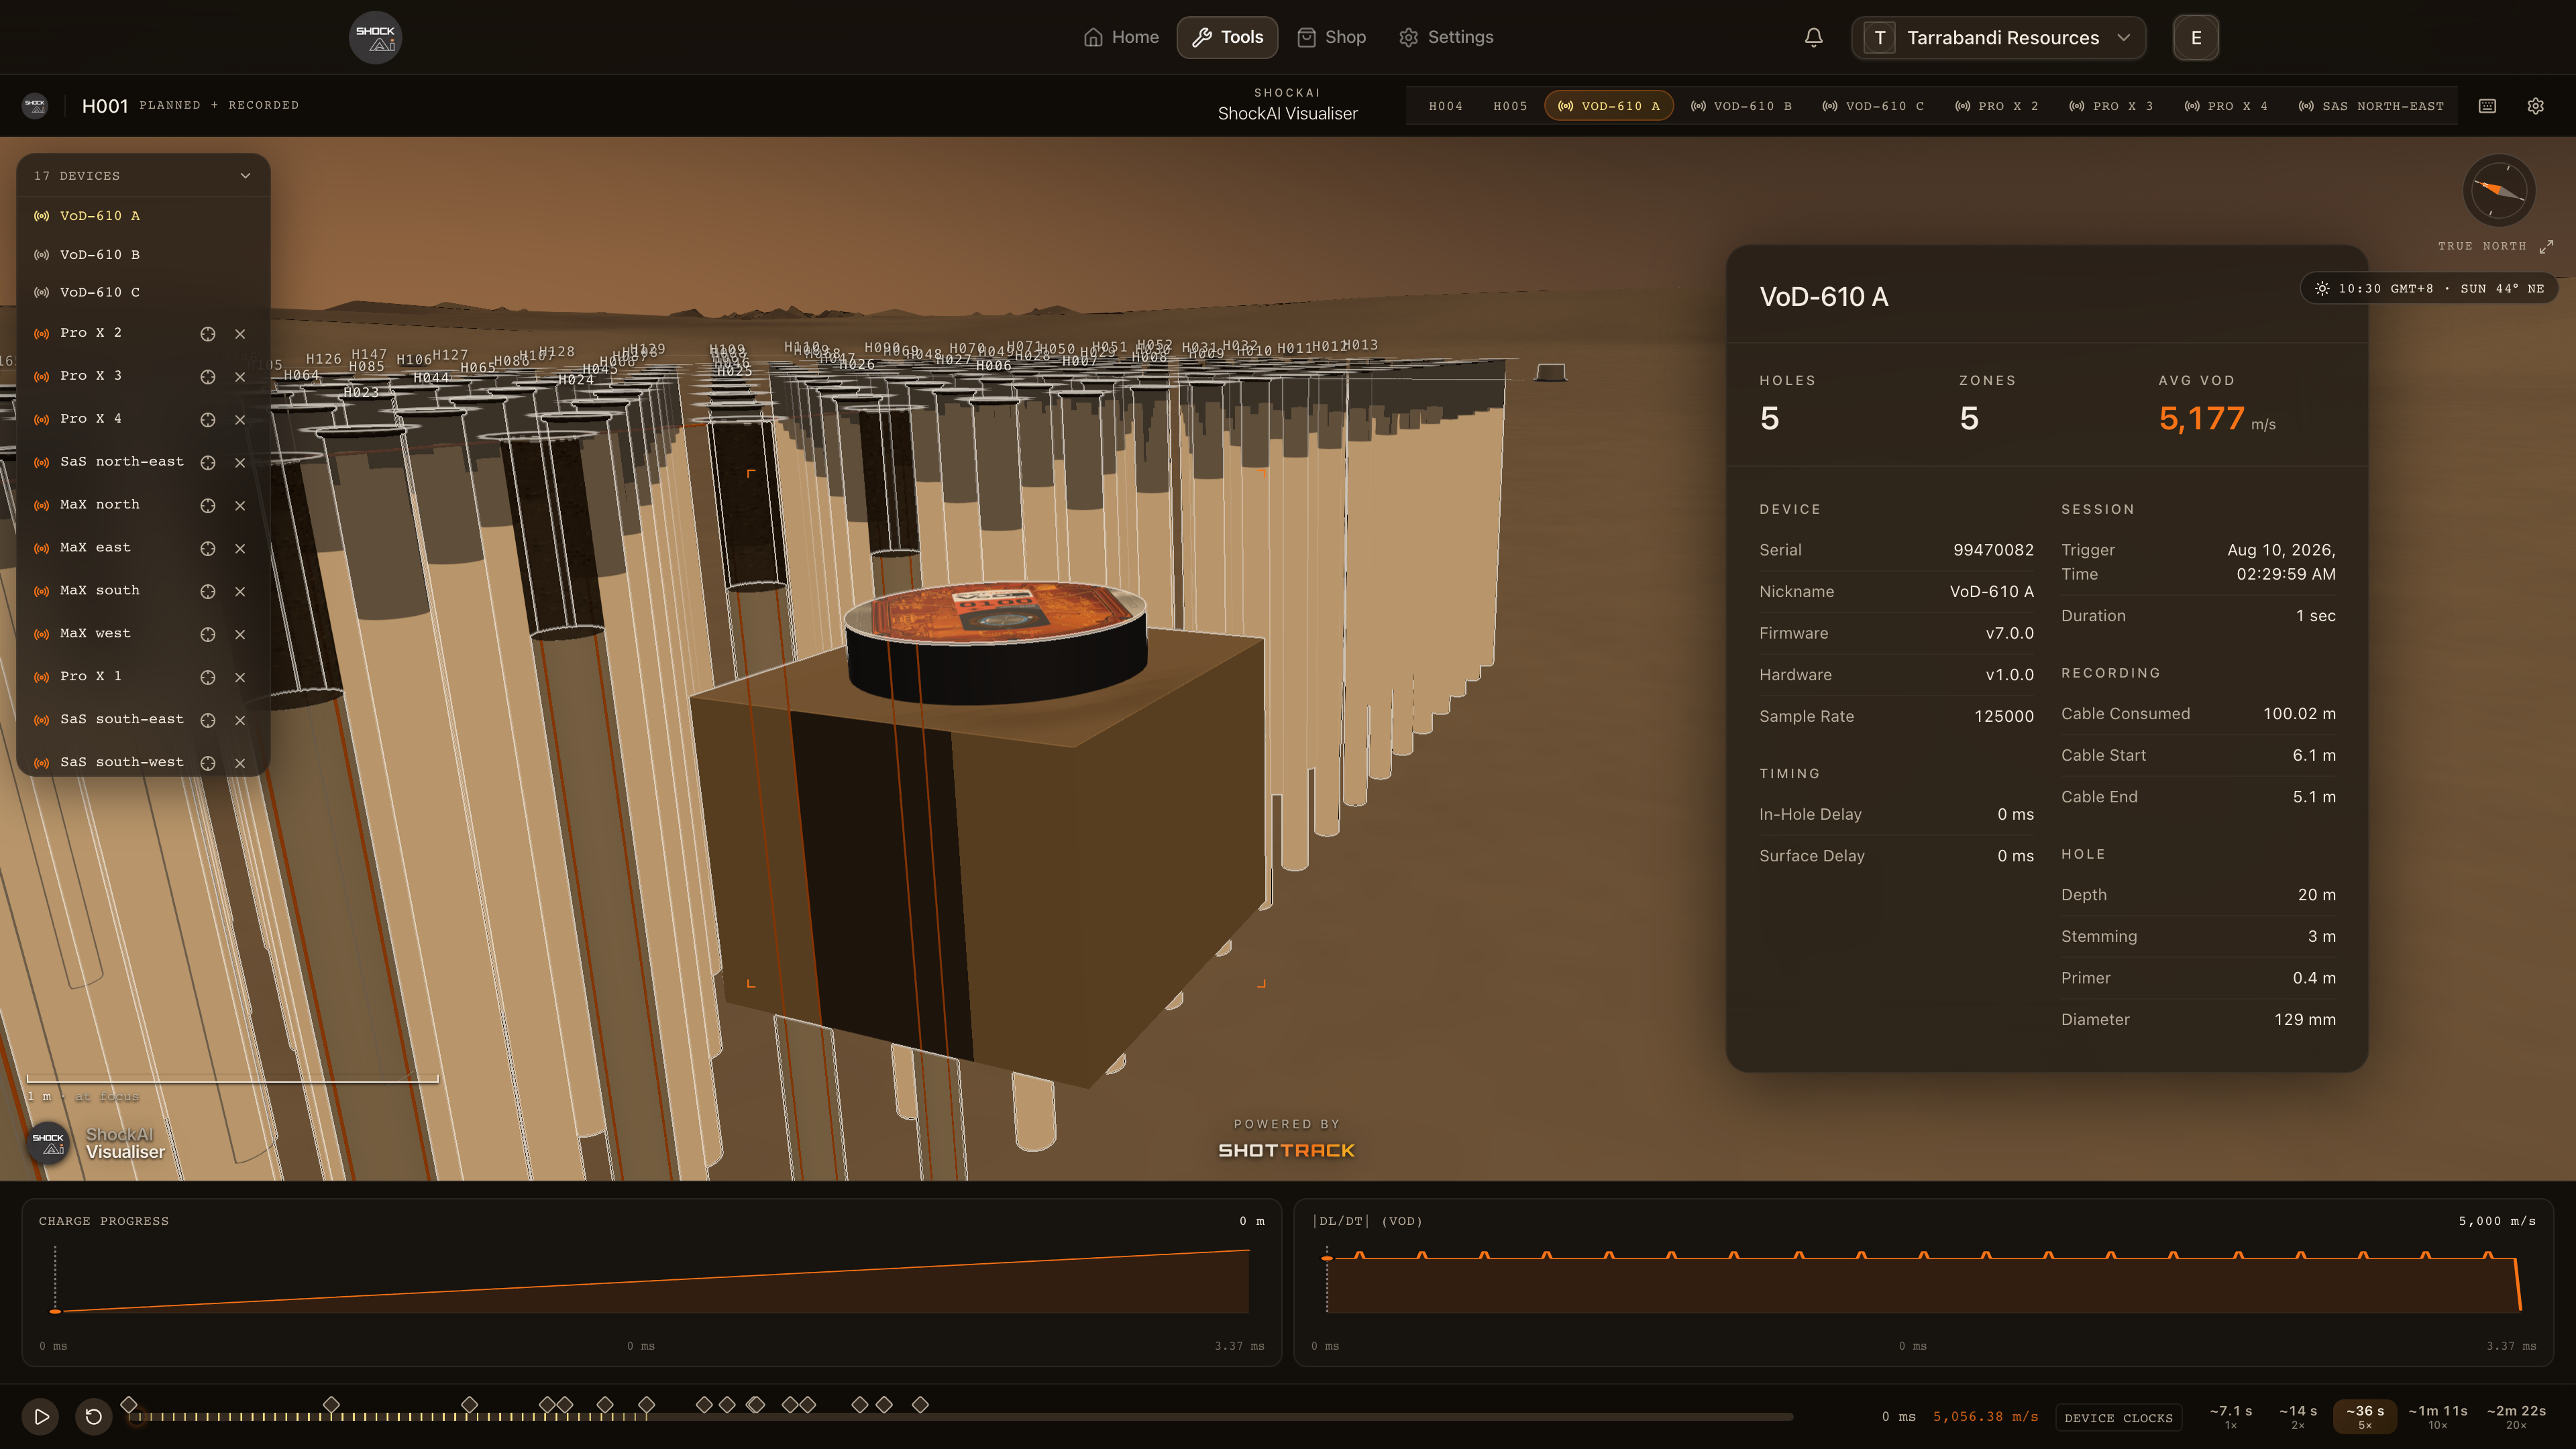
Press D to focus the recorder the scene opened on, and Enter for its details; a panel already open follows to it. The panel gives its Holes, Zones and Avg VoD, with sections for the device, the session, the recording, the blast, the timing and the hole in focus.
Every recorder that read the blast stands in the scene, set back from the pattern at the end of its cable. Click another recorder, in the scene or in the tray, to put it in view. Its holes become the recorded columns, and the digit keys walk them. The title bar names the recorder in view.
Placing a monitor
When you can edit the project, each monitor in the tray has a crosshair: Place on the ground, or Move on the ground once it has a place. Click the crosshair, then click the ground where the unit stood. A ghost of the unit follows the pointer until you do, and Esc cancels without saving anything. When the blast is surveyed and the unit's session has a GPS fix, Place from session GPS puts it there in one step. Remove placement takes it off the ground again.
Placements are saved for everyone on the project. You cannot place a unit while the blast is playing.
Comparing the monitors
Where two or more monitors on the blast have analysed records, Compare sets them side by side: press Shift+U, or choose Compare among a monitor's actions to open with that monitor picked first. Each monitor's trace card flies into a lane of the line-up, on the blast's clock. See Comparing monitors.
A monitor's place on the ground is what puts its record on the blast's clock when it has no satellite timing, so placing or moving one moves its record there too. See The blast's clock.
Seismograph records
A client's own seismograph records on the blast stand as pins: grey-blue for a reference record and amber for one counted for compliance. A record stands where it was placed, by a surveyed position or a GPS fix. A record placed only by its distance has no pin. Hover a pin to pick it out. See Seismograph records for the records themselves.