
Importing a blast plan
Bring the drill and charge design into the analyser from a CSV or Excel file, map its columns once and reuse the mapping, and match each recorded hole to its row.
A blast plan gives every hole its design: product, planned VoD, depth, stemming, column and primer position. Once it is attached, the analyser compares what the front did with what the plan said and draws the planned VoD across each hole.
Press Shift+I, or use Import blast plan from the holes rail or the event actions, to start the wizard.
The wizard
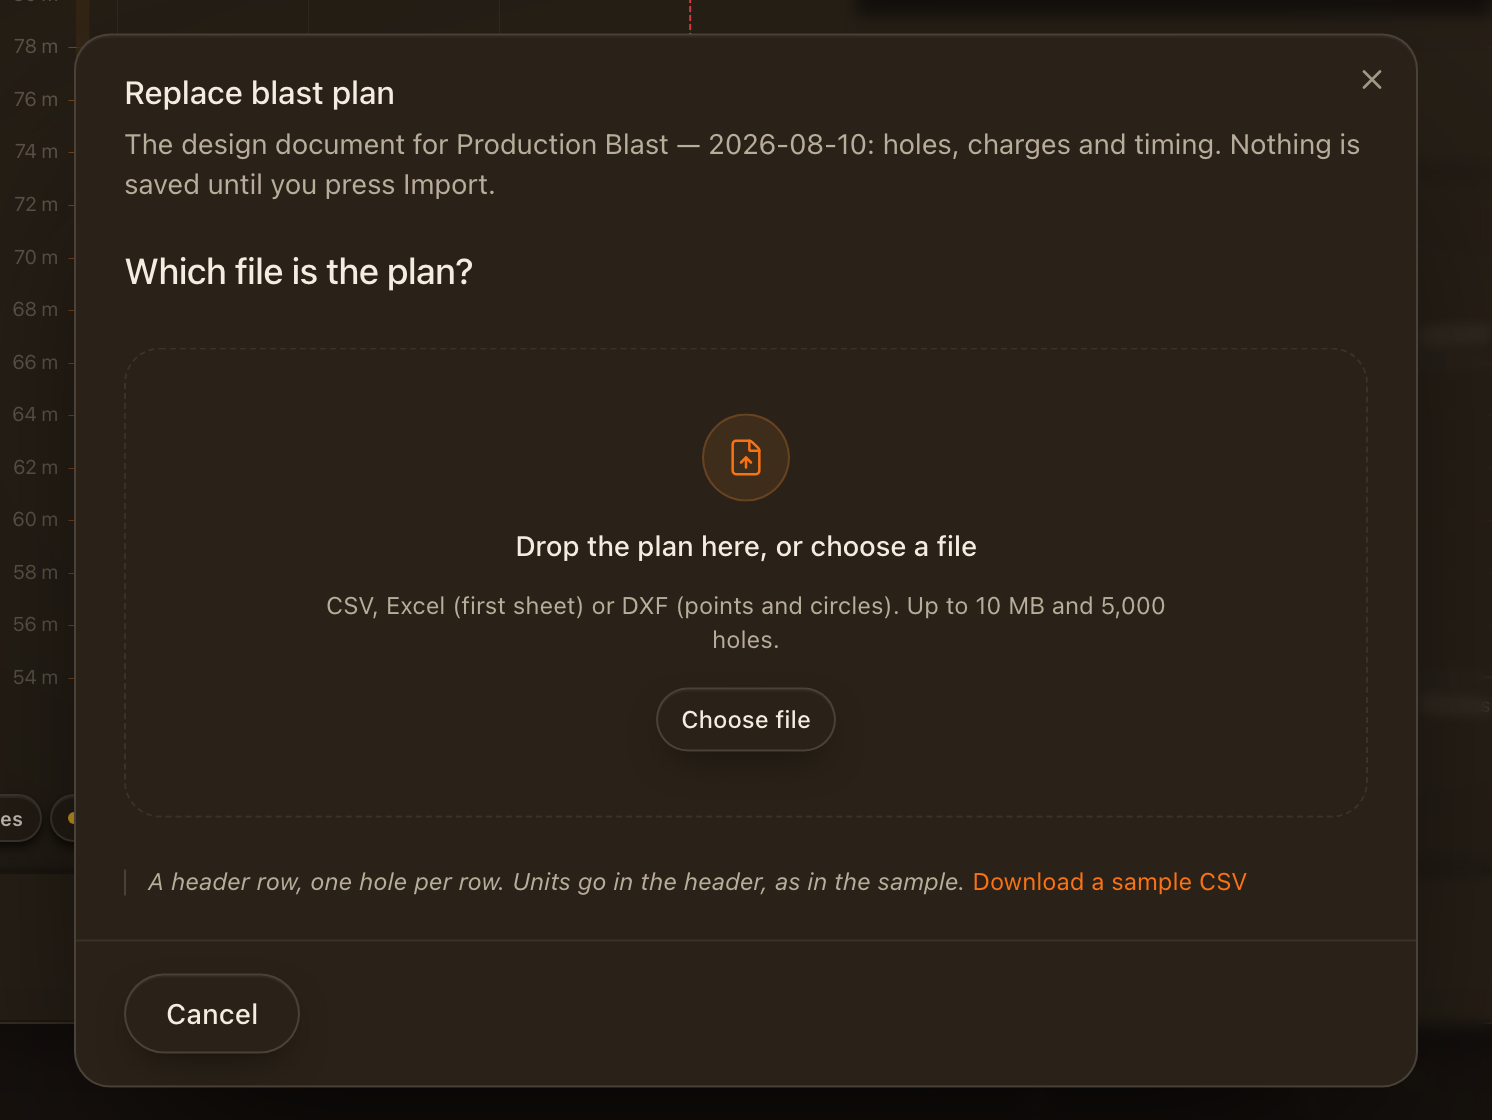
- Environment. Choose the mining type, the material type and the rock type that best match the site. These set sensible defaults and feed the models behind the planned figures.
- File. Upload the CSV or Excel export from your blast design software. The wizard reads the columns it finds and reports any rows it could not parse.
- Map the columns. Match your file's columns to the blast-plan fields: hole name, product, diameter, depth, stemming, primer offset, cable enter and exit, notes. Pick a saved mapping to fill this in instantly, or save your mapping under a name for the next import. A site value can be applied to every hole.
- Match the holes. For each hole the analyser recorded, select the file row that matches it and review the values before saving.
The plan is attached to the event when you finish. Holes gain their planned figures, the vs plan deviation appears in the metrics, and the same plan is available to the ShockAI Visualiser.
Things to know
- A blast plan can be attached to an event once. To change it, edit the holes directly.
- Column mappings are saved per workspace, so a colleague importing from the same software sees them too.
- The planned VoD is what the product is rated for. A recorded figure a long way from it is worth a look, not automatically a problem; see Metrics and deviations.