
Holes and zones
Place holes where the front entered each charge, mark the zones the VoD is fitted over, edit them precisely, and step through them from the keyboard.
A hole marks where the detonation front entered a charge column. A zone is the stretch of cable inside a hole that the analyser fits a straight line to; its slope is the zone's VoD. Stemming between decks is not a zone and is never given a velocity.
Holes
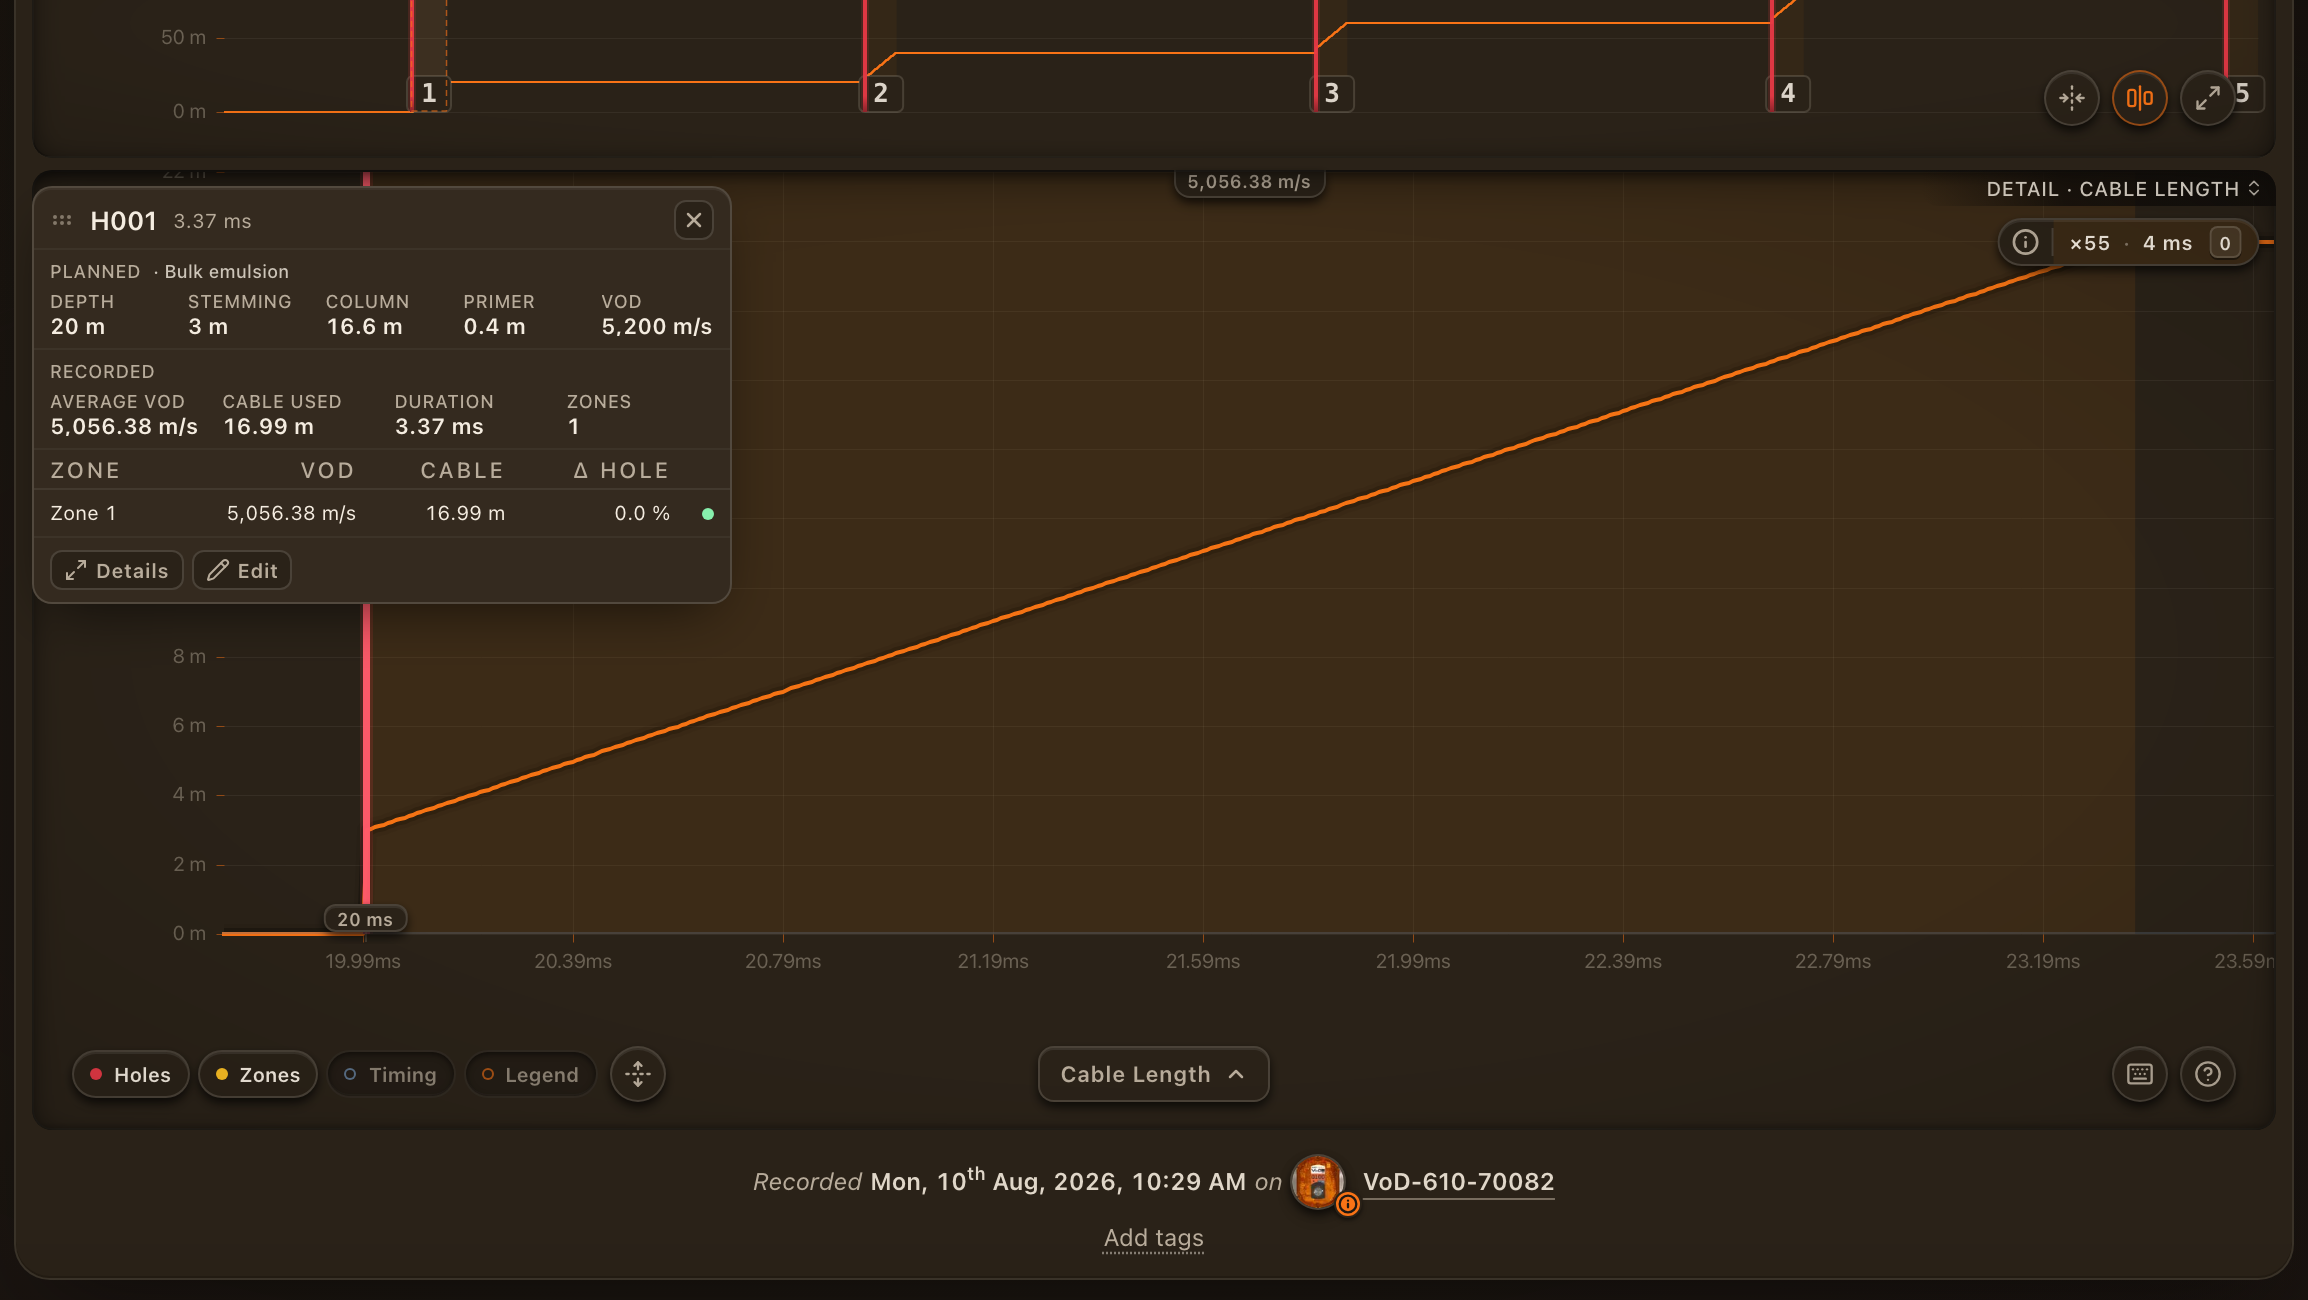
- Press M to create a hole at the cursor (or the middle of the view),
Shift+click the chart to place one there, or click the holes rail in the navigator. - A hole imported from a blast plan already carries its planned VoD, depth, stemming, column length and primer position; a hole you place by hand can be given them in the edit dialog.
- Press Shift+H to open the holes list, where you can review, edit and delete holes in bulk.
Zones

- Drag across the detail chart to select a range, then press N to create a zone from the selection. On the zones rail, drag to create one directly.
- Double-click a zone on the rail, or focus it and press E, to edit it. Drag its outboard grips to resize; while editing, ← and → nudge by one sample, Shift makes that ten and Ctrl fifty, and Alt+←/Alt+→ and Alt+Shift+←/Alt+Shift+→ move the start and end edges. The live velocity readout follows as you drag. Press Y to confirm the edit dialog.
- The analyser refuses a zone that is too short to fit or that overlaps another; the message tells you why.
- Press Shift+Z to open the zones list.
Each zone shows a confidence dot: green when the fit was measured over enough cable to trust, amber when it is reduced, red when the zone is too short for its velocity to mean much. The tiers come from the unit's specification.
Stepping and editing
- [ and ] go to the previous and next hole; { and } to the previous and next zone.
- Ctrl+Z and Ctrl+Shift+Z undo and redo the last annotation change.
- Every change is saved to the event as you make it and shows up immediately in the readout, the rail and the exports.
Timing
Press Shift+S for timing settings to choose the initiation system and adjust the offset of the blast-timing overlay, and B to show or hide its markers. The timing markers place each hole's designed firing time on the trace, so a hole that fired late stands out.
Adjusting the offset
When the unit and the firing system disagree on time zero, every marker is off by the same amount. Shift the whole log until a cut you trust sits on its marker; the deltas are measured from there, and the offset is kept with the event.