Blast timing
Lay each hole's planned firing time over the trace, see how far each cut landed from it, and set the initiation system and offset the markers are read with.
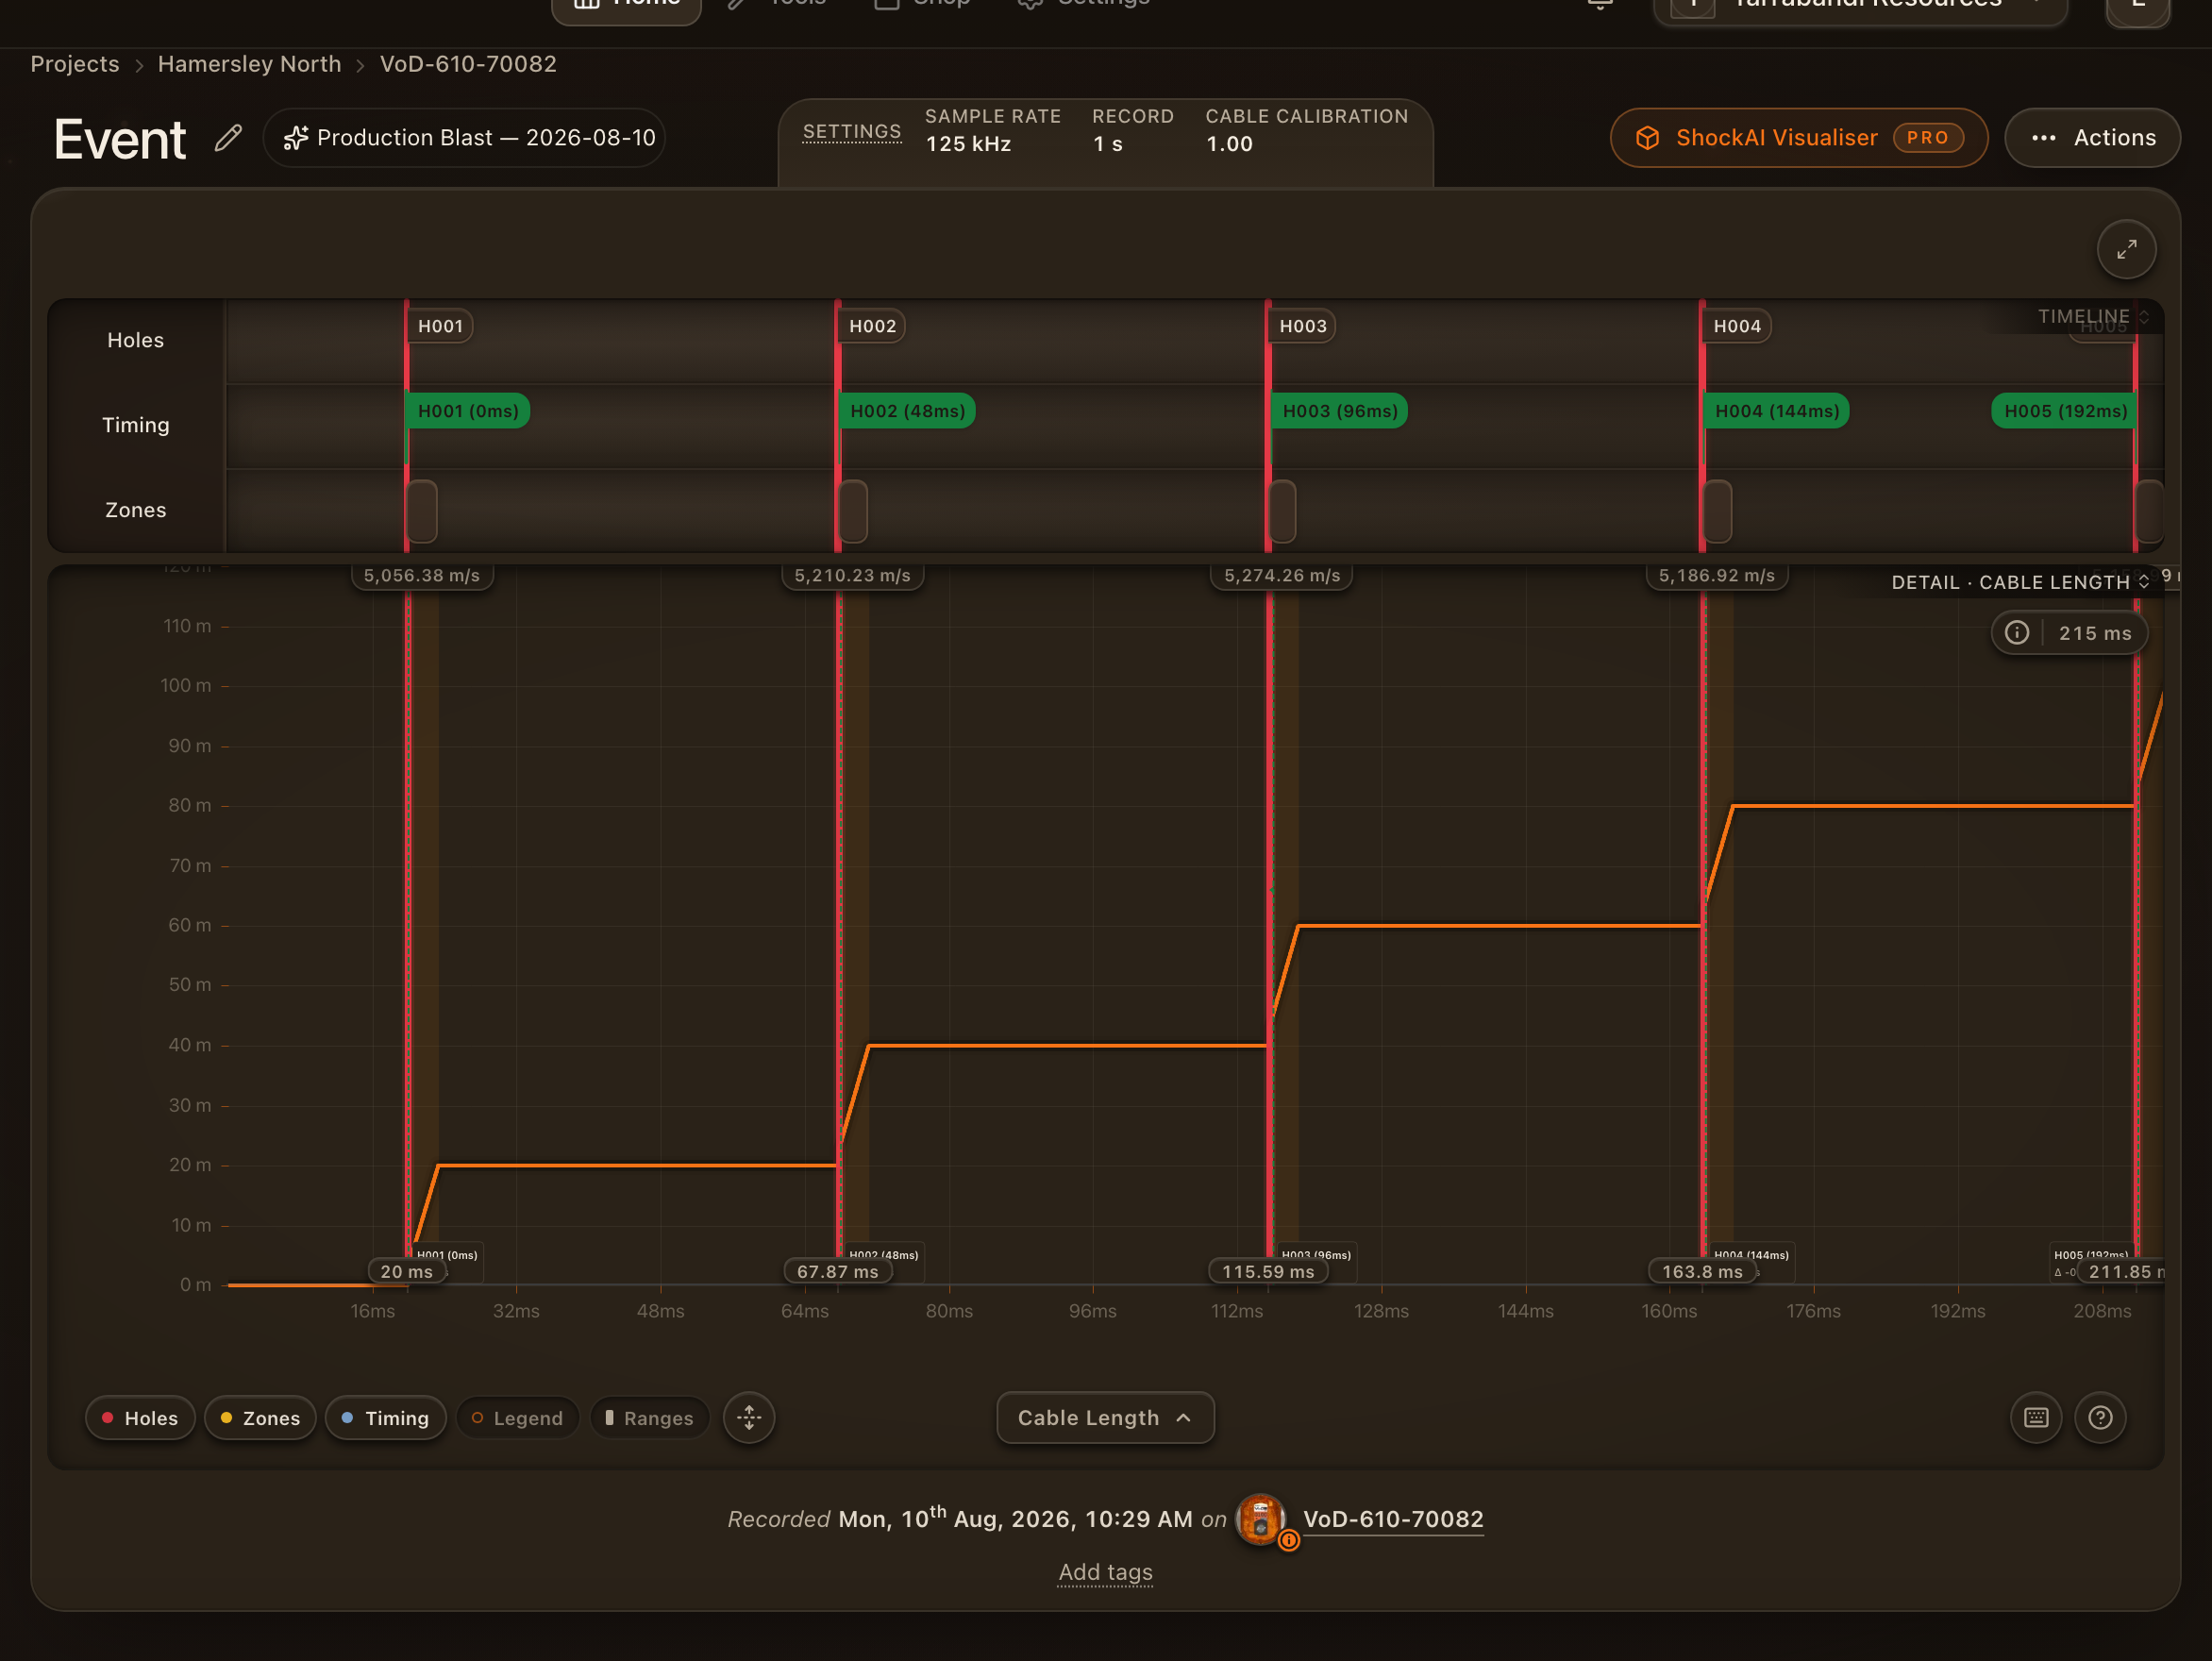
A hole with a planned firing time gets a marker on the trace. Its cut should land on that marker, and any cut early or late stands out. Press B to show the markers, Shift+D to draw how far each cut landed from its marker, and Shift+S for the settings they are read with.
Where the times come from
Each hole's planned firing time is its total delay. Importing the blast plan copies it onto every recorded hole matched to a planned one (see Importing a blast plan). You can also type it into a hole's details, under Initiation.
With the Timeline showing (Shift+O), the Timing track says where things stand: Import blast plan when the blast has no plan, and Blast plan imported when the plan carries no delays. When it does, the track carries a marker per hole while the markers are showing.
The markers
Press B, or click the Timing pill, to lay the markers over the trace. Each sits at its hole's planned delay, counted from the start of the record and moved by the offset in the settings. Its label names the hole and the delay, with the difference from the recorded cut underneath.
A marker's colour says how the cut compares with the detonator's tolerance, which the initiation system sets:
| Initiation system | Tolerance |
|---|---|
| Electronic | ±1 ms |
| Non-electric (shock tube) | ±3 % of the delay |
| Pyro electric, Surface connector | ±10 % of the delay |
| Unknown / default | ±5 % of the delay, and at least 1 ms |
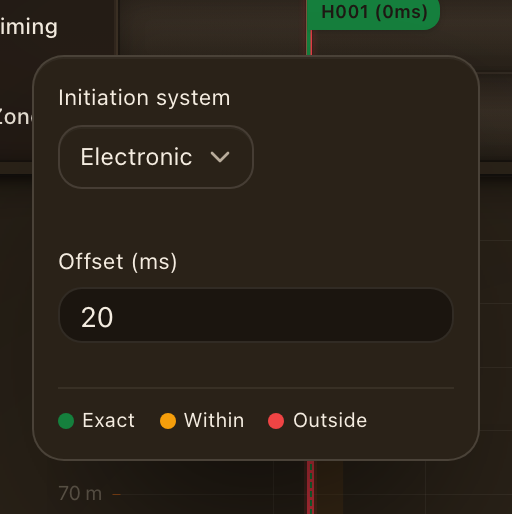
Exact is within the tolerance, Within is within twice it, and Outside is further.
The markers start hidden each time you open a recording.
Draw the deltas
Press Shift+D to draw an arrow from each hole's planned firing time to its recorded cut, so the size and direction of each difference can be read at a glance. The markers must be showing.
The timing settings
Press Shift+S, or click the gear on the Timing track, for the settings the markers are read with:
- Initiation system sets the tolerance a marker's colour is judged against.
- Offset (ms) moves every marker by the same amount. The markers count from the record's first sample, and a recorder starts recording a little before the first hole fires, so on most recordings every cut lands the same few milliseconds after its marker. Shift the markers until a cut you trust sits on its own, and read the rest from there.
The settings are saved with the recording, a moment after your last change.